Monochromatic Painting
Submitted by: Sarah Wegenast, Aurora Middle School, Aurora, Nebraska.
Unit: Art – Technology - Painting
Grade Level: middle school through high school (done with 9th grade)
Middle School Art Website - (Also see her graphic arts page)
Materials:
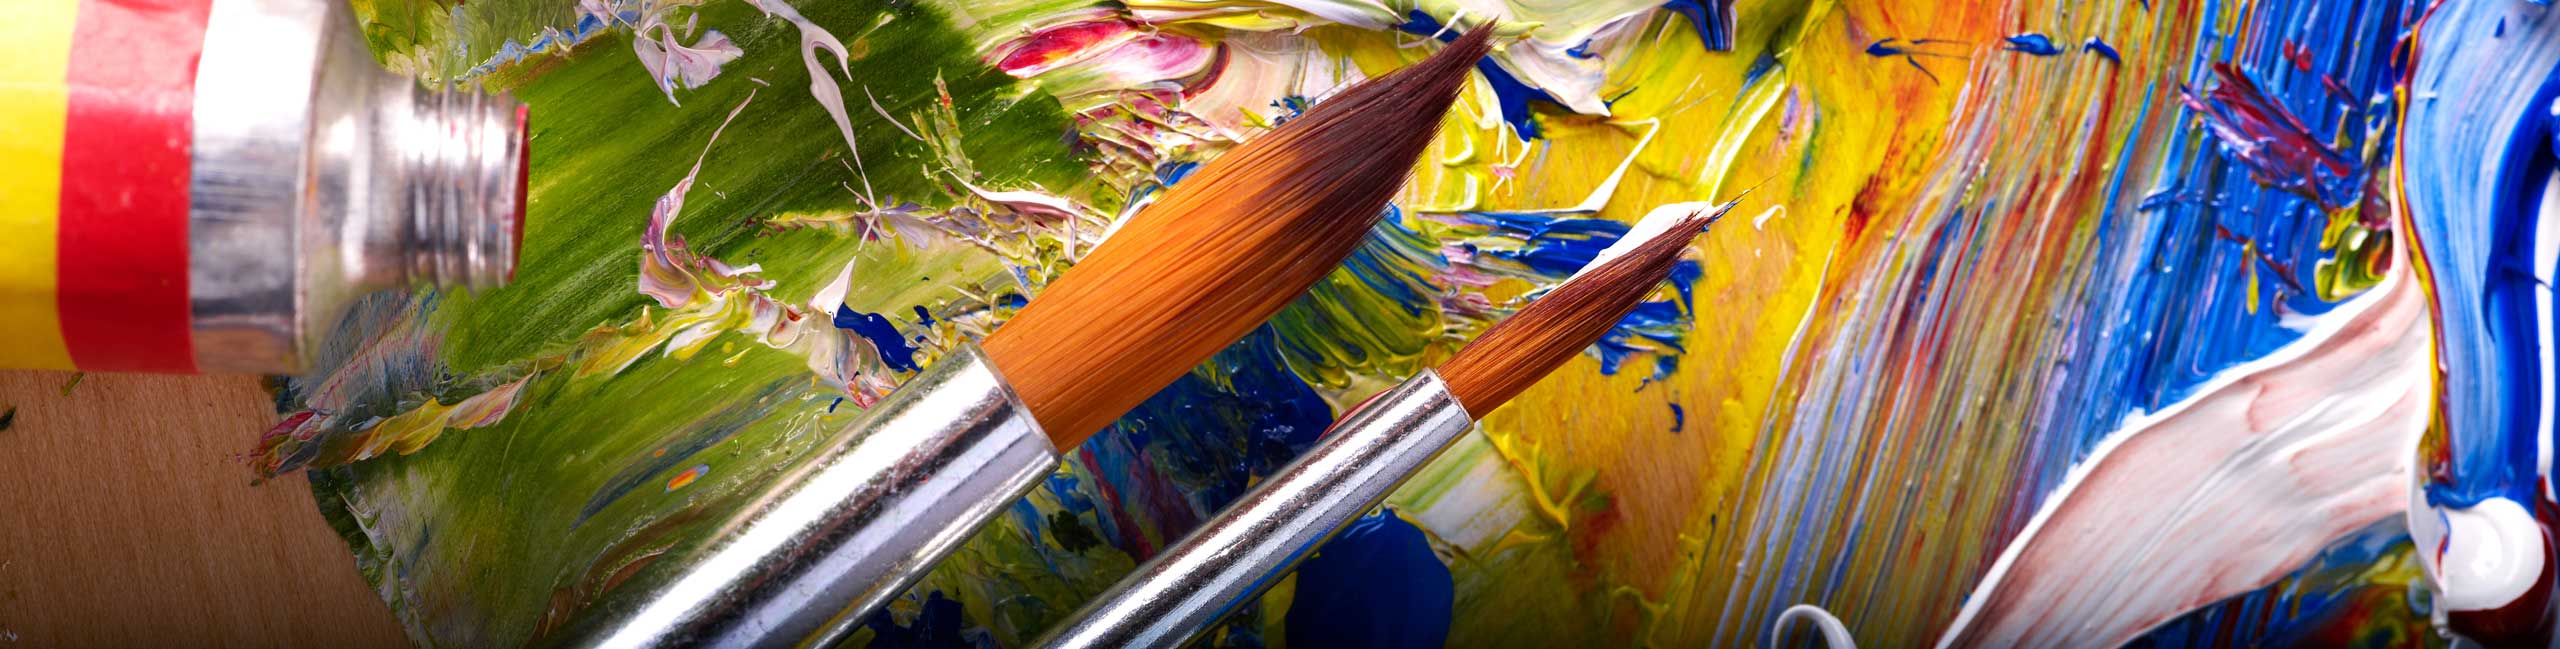
Digital images (see site for links) - Photoshop [You can buy it at the Adobe Software Page] - printer (try printing images on Tag board


Resources:
See Ginny Rockwood's Gallery. Here is an alternate lesson by her.
Using a digital camera I took a picture of each student, put them into my computer, and adjusted the quality to show a wide range of values from light to dark. I then posterized the image using Adobe Photo-Deluxe in order to reduce the number of values to five. Students were given a printout of their resulting portraits.
 Book: Monochromatic images in Photoshop CS4 - The essential, inspiring resource for all digital photographers shooting in monochrome.
Objectives:
Student will use Photoshop to manipulate a photograph
Students will mix and paint a full range of values
Students will demonstrate care of materials and craftsmanship in painting
Lesson given to students:
Purpose: The purpose of this project is to introduce color values by blending one color of paint with black and white to give a variety of value changes. This color relationship or color scheme is known as monochromatic. In Picasso's Blue and Rose Periods he used this color relationship to portray his mood and emotions at the time of his paintings.
Evaluation: The assignment below will be combined with all other assignments in this unit to determine your grade.
 Instructions: Our focus in this assignment is on the color relationship. Your subject matter will be found in a copyright image free database on the Art Department website and a digital photo of yourself will be taken with a digital camera. All colors will be mixed on your palette. Mixing white and your color, also known as tints create light values. Mixing black and your color, also known as shades creates dark values.
A. Image Source
You will need to go to the Art Department Website. This will bring you to a web page that has copyright free images sites. Make sure if your photo has a subject that it is the largest part of the photo.
Select an image with good value changes. A good variety of light and dark colors. It should be balanced or you will end up with a picture that is unbalanced. Check with me once you think you have found one. It should be a colored image.
B. Digital Manipulation
1. You will need to download the high-resolution image to your student folder and name it.
2. Launch Photoshop and open your image. Go to Image + Image size and change the resolution to 150 and the document width to 8" if it is portrait, and 11" if landscape. You will only need to change one dimension. Make sure the "constrained proportions" is checked. Select inches and not pixels. Pixels are used for web photos and we are going use this photo for print. Click OK.
3. Go to the Image again and select Mode + Grayscale. It will ask you if you want to discard the color selection. Check OK.
4. Go to Image again and select Mode + Duotone. A window will come up and you will need to select Monotone in the Type. Click on the colored square and select from the picker your color. Then click OK.
5. Check with me before you print.
6. Save this again under a different name. Print to the ink-jet, not LaserJet.
C. Painting
1. Using small brushes you are going to paint right over the paper print. You will need to create your palette. I will demonstrate this. You will need to stay within the same value tones (light and darks) as the photo.
2. Paint light areas first and then move to the darker colors on your palette.
3. Keep your paint palette and brushes you are using on your shelf. I EXPECT you to keep your brushes clean! This is not tempera paint and will dry hard on the brush. If your Acrylic Paint starts to dry, use some slow-dri gel.
4. When dry, sign your name in the bottom right corner. If a marker is used make sure it is a fine sharpie marker.
5. You will follow the same directions for your self-portrait with the exception of the Artistic Filter - Cut out. The level will need to be changed to 4.
Alternate Portrait Lesson: Judi Morgan
D. Criteria for evaluation
Computer manipulation and painting technique
Art Rubric on skill/craftsmanship/originality/requirements/effort.
Alternate Approaches:
Trace photograph onto poster board (or card stock). See Judi Morgan's lesson
Enlarge photograph with photocopier - print onto 11"x17" (28 x 43 cm) index stock for larger painting (or print on large format printer - up to 13" x 19" (33 x 48 cm)
Students enlarge photograph using grid (or any other method)
Students take own photograph for painting, change to black and white, print and enlarge (using any method).
Make three paintings (all same size) - and glue Agam style to folded tag board. |_|_|_|_| View from different angles. (See Bunki Kramer's lesson).
Alternate Lesson by Ann Ayers - Pop Portraits, (Archive) Monarch High School, Coconut Creek, FL
Students in Florida NBCT Ann Ayer's beginning-level high school art class discover the power of Pop Art portraits using digital cameras and iPhoto. Students change a digital photograph to high contrast - then transfer it to painting board using the grid method. Another project they do is make a contact sheet (several images together) and print it out on transparency. Then students turn the transparency over and paint the back side in different color combinations... For a multiple Warhol type work.
